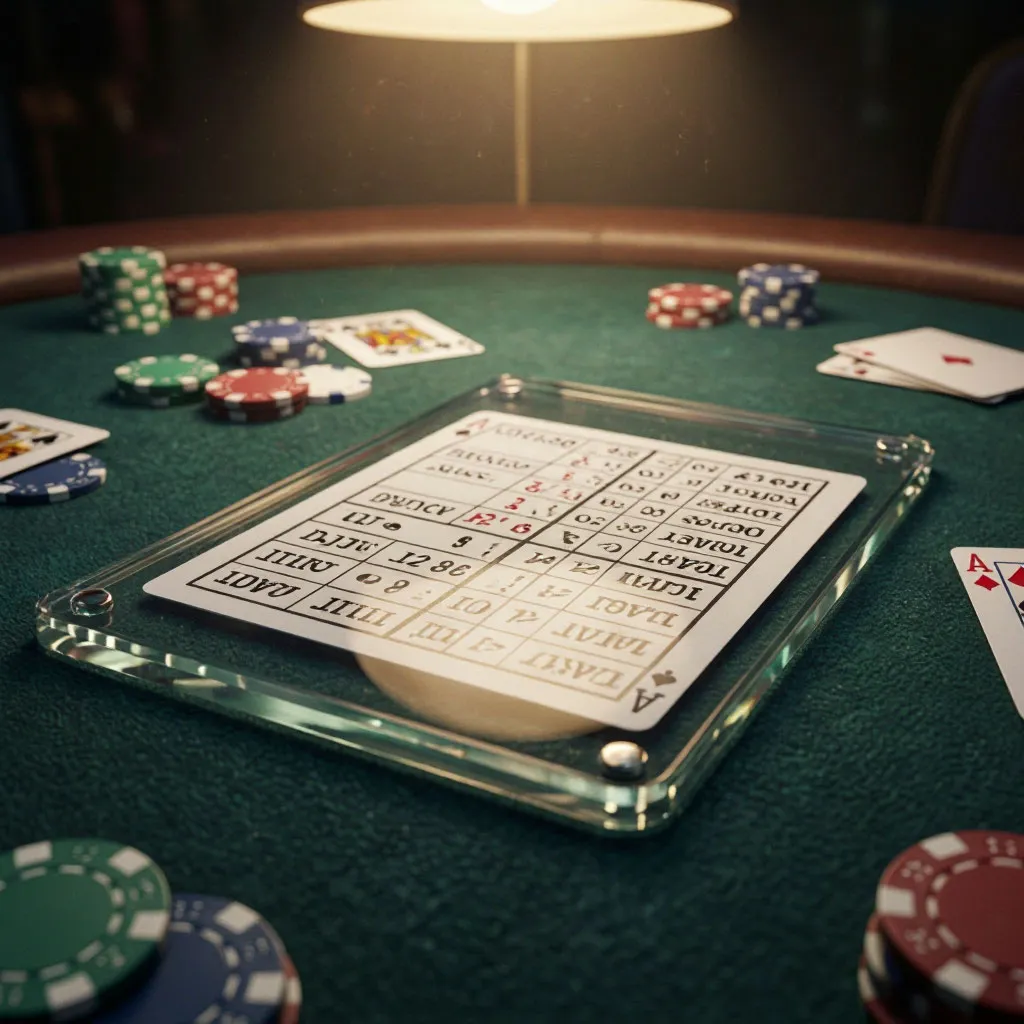
Every decision you make at a blackjack table either costs you money or saves it. There is no third option. When the dealer shows a 6 and you hold a hard 16, the choice between hitting and standing is not a matter of gut feeling or luck — it is a math problem with one correct answer that has been computed, verified, and refined over sixty years of simulation. That answer is: stand. When the same dealer shows a 7 instead, the answer flips: hit. The difference between these two decisions, measured over thousands of hands, is the difference between a player who loses 0.5% of their total wagered amount and one who loses 2% or more. The basic strategy chart is the product of millions of computed hands, and it exists for one reason: to tell you the mathematically optimal play for every possible combination of your hand and the dealer’s upcard. For a 6-deck game — the most common format in both physical and online casinos — that chart contains roughly 250 discrete decisions, and every single one has a provably correct answer.
Why the number of decks changes the strategy
Blackjack basic strategy is not universal. The optimal play for a given hand depends on the rules of the specific game, and one of the most influential rule variables is the number of decks in play. A single-deck game has a different strategy from a 6-deck game, which in turn differs slightly from an 8-deck game. The differences are not enormous — the core decisions remain the same in 90% of scenarios — but the marginal hands, where one play or another is close in expected value, shift enough that using the wrong chart costs money.
The reason deck count matters is probability. In a single-deck game, when you hold a 5 and a 6 for a total of 11, and the dealer shows a 5, you know that four of the sixteen 10-value cards have already been removed from the deck (your two cards plus the dealer’s one). In a 6-deck game, those same four cards have been removed from a pool of 96 total 10-value cards, which barely changes the composition. This means that card removal effects, which influence the precise probabilities of each outcome, are diluted in multi-deck games. The practical consequence is that certain plays — particularly those involving doubles and splits against specific dealer upcards — shift slightly between single-deck and multi-deck strategies.
The 6-deck game is the standard for a reason. It strikes a balance between the house advantage of multi-deck play (which slightly favours the casino compared to single-deck) and the practical logistics of shuffling and dealing. Most charts you find in books and online are designed for 6-deck games, and the chart presented here is calibrated for the following rule set: dealer stands on soft 17, doubling allowed on any two cards, doubling allowed after splitting, late surrender available, and split aces receive only one card each. If your specific game deviates from these rules, some individual decisions in the chart will change — but the vast majority remain identical.
The hard totals: when numbers leave no room for interpretation
A hard hand is any hand that either contains no ace or contains an ace counted as 1 (because counting it as 11 would bust). Hard hands are the most straightforward decisions in blackjack because there is no flexibility — the total is what it is, and the only options are hit, stand, double, or surrender.
The logic behind hard total decisions follows two principles. First, the dealer’s upcard determines whether the dealer is likely to bust. A dealer showing 2 through 6 is considered “weak” because the probability of busting is between 35% and 42%. A dealer showing 7 through Ace is “strong” because the final total is likely to be 17 through 21, making busting less likely. Second, your hand total determines how much risk you can absorb by taking another card. A hard 12 can receive any card from ace through 9 without busting, while a hard 16 busts on any card from 6 through 10 — meaning 8 out of 13 card values will break you.
The interaction between these two principles produces the hard total strategy. Against a weak dealer (2-6), you play conservatively with stiff hands (12-16) because the dealer is likely to bust anyway, and hitting risks breaking your hand for no reason. Against a strong dealer (7-A), you hit those same stiff hands because standing guarantees a loss — the dealer will make a hand of 17 or better most of the time — and hitting at least gives you a chance to improve.
The hardest hands to play are the ones right at the boundary. A hard 12 against a dealer’s 2 or 3 is one of the most misplayed hands in blackjack. The instinct is to stand, hoping the dealer busts. The math says hit, because the dealer busts only about 35% of the time with a 2 up, and your 12 loses more often standing than the risk of busting by hitting. Another notoriously misplayed hand is hard 16 against a dealer’s 10. The mathematically optimal play is to hit, but the expected loss is so close to the expected loss from standing that many players and even some experts advocate surrendering if that option is available.
The soft totals: where the ace gives you a safety net
A soft hand contains an ace counted as 11, which means the hand cannot bust on the next card — if the hit would push the total over 21, the ace simply reverts to a value of 1. This flexibility changes the strategy fundamentally, because you can always hit a soft hand without risk of busting.
Soft totals are where many players make their costliest mistakes. The most common error is treating a soft hand like a hard hand — standing on soft 18 against a dealer’s 9, 10, or Ace because 18 “feels” like a good total. It is not. A total of 18 against a dealer’s 10 wins only about 38% of the time, which is a losing proposition. Hitting the soft 18 gives you a chance to improve to 19, 20, or 21, and the downside is limited because the worst that happens is you draw a card that converts the ace to 1 and leaves you with a hard total — which you then continue playing according to the hard total strategy.
The soft total strategy can be summarized in a few principles that cover the vast majority of situations.
- Soft 13 and 14 (A-2, A-3): hit against any dealer upcard. These totals are too low to stand on, and doubling is not recommended because the improvement potential is modest.
- Soft 15 and 16 (A-4, A-5): hit against all upcards except 4, 5, and 6, where doubling becomes the optimal play. The dealer’s weakness combined with your flexible total makes doubling profitable.
- Soft 17 (A-6): hit against 2, 7, 8, 9, 10, and Ace; double against 3, 4, 5, and 6. Soft 17 is not a standing hand — it is a hitting or doubling hand depending on the dealer.
- Soft 18 (A-7): the most nuanced soft hand. Stand against 2, 7, and 8; double against 3, 4, 5, and 6; hit against 9, 10, and Ace. This is the hand where most players lose money by standing when they should be hitting or doubling.
- Soft 19 and 20 (A-8, A-9): stand against all upcards. These are strong totals that should not be risked. The only exception in some rule sets is doubling A-8 against a dealer’s 6, but this is marginal and depends on the specific rules.
The flexibility of the ace is a gift, but it is a gift that most players fail to unwrap. Standing on soft 18 against a 10 because “18 is a decent hand” is the blackjack equivalent of folding a winning hand in poker because you are afraid of the next card. The math has already done the worrying for you — and it says hit.
Pairs and splitting: turning one hand into two for maximum value
Splitting is the most powerful and most misunderstood decision in blackjack. When you receive a pair, you have the option to split the hand into two separate hands, each receiving an additional card and played independently. This doubles your bet but also doubles your opportunities. The key insight is that splitting is not about improving your current hand — it is about exploiting the dealer’s weakness and maximizing your expected return.
Some splits are obvious. A pair of aces should always be split because a soft hand with one ace is far more valuable than a hard 12 with two aces, and starting two hands with an ace gives you the best possible starting card twice. A pair of 8s should always be split because a hard 16 is the worst hand in blackjack, and splitting gives you two chances to build something better from a weak starting position.
Other splits are less intuitive but equally mathematically grounded. Splitting 9s against a dealer’s 2 through 9 (but standing against 7, 10, and Ace) is correct because a starting hand of 9 has a better expected value than a hard 18 against most dealer upcards — but against a 7, your 18 wins often enough that standing is better, and against a 10 or Ace, the dealer is too strong to justify the extra bet.
The pairs that should never be split are just as important to remember. A pair of 10s is a hard 20 — one of the strongest hands in the game — and splitting it to create two hands starting with 10 is mathematically inferior, despite the temptation to try for two hands of 20. A pair of 5s should be treated as a hard 10 and doubled against weak dealer upcards, never split, because a hard 10 is a strong doubling hand while a starting hand of 5 is weak.
The complete 6-deck basic strategy chart
The following chart consolidates every decision into a single reference. Reading the chart is straightforward: find your hand type along the left column, find the dealer’s upcard across the top, and the cell where they intersect tells you the optimal play. The chart assumes dealer stands on soft 17, doubling after splitting is allowed, and late surrender is available.
| Player hand | 2 | 3 | 4 | 5 | 6 | 7 | 8 | 9 | 10 | A |
|---|---|---|---|---|---|---|---|---|---|---|
| 5–8 | H | H | H | H | H | H | H | H | H | H |
| 9 | H | D | D | D | D | H | H | H | H | H |
| 10 | D | D | D | D | D | D | D | D | H | H |
| 11 | D | D | D | D | D | D | D | D | D | D |
| 12 | H | H | S | S | S | H | H | H | H | H |
| 13 | S | S | S | S | S | H | H | H | H | H |
| 14 | S | S | S | S | S | H | H | H | H | H |
| 15 | S | S | S | S | S | H | H | H | R | R |
| 16 | S | S | S | S | S | H | H | R | R | R |
| 17+ | S | S | S | S | S | S | S | S | S | S |
| A,2 | H | H | H | D | D | H | H | H | H | H |
| A,3 | H | H | H | D | D | H | H | H | H | H |
| A,4 | H | H | D | D | D | H | H | H | H | H |
| A,5 | H | H | D | D | D | H | H | H | H | H |
| A,6 | H | D | D | D | D | H | H | H | H | H |
| A,7 | S | D | D | D | D | S | S | H | H | H |
| A,8 | S | S | S | S | S | S | S | S | S | S |
| A,9 | S | S | S | S | S | S | S | S | S | S |
| 2,2 | P | P | P | P | P | P | H | H | H | H |
| 3,3 | P | P | P | P | P | P | H | H | H | H |
| 4,4 | H | H | H | P | P | H | H | H | H | H |
| 5,5 | D | D | D | D | D | D | D | D | H | H |
| 6,6 | P | P | P | P | P | H | H | H | H | H |
| 7,7 | P | P | P | P | P | P | H | H | H | H |
| 8,8 | P | P | P | P | P | P | P | P | P | P |
| 9,9 | P | P | P | P | P | S | P | P | S | S |
| 10,10 | S | S | S | S | S | S | S | S | S | S |
| A,A | P | P | P | P | P | P | P | P | P | P |
Legend: H = Hit, S = Stand, D = Double (if not allowed, Hit), P = Split, R = Surrender (if not allowed, Hit). For soft hands, A,2 means Ace + 2, and so on. For the A,7 row against dealer 3-6, if doubling is not allowed, Stand rather than Hit.
The chart’s density is intentional — every cell represents a computed decision, and removing or simplifying any part of it introduces errors that compound over time. Players who memorize the chart in full reduce the house edge to approximately 0.5%, which is the lowest edge of any standard casino game played without card counting.
The hands that cost players the most money
Not all mistakes are created equal. Some deviations from basic strategy cost you a fraction of a percent; others are catastrophic to your bankroll over time. Understanding which hands are the most expensive to misplay helps prioritize which parts of the chart to memorize first.
The costliest errors share a common pattern: they occur on hands where the correct play feels counterintuitive, where the “obvious” choice is the wrong one.
- Standing on 16 against a dealer’s 10 — this is the single most common error in blackjack. The instinct to stand is overwhelming: 16 is a terrible total, and hitting feels like suicide. But the math says hitting loses less often than standing, because the dealer makes a hand of 17 or better from a 10 upcard about 77% of the time. Standing guarantees a loss in those cases; hitting at least gives a 23% chance of improving. If surrender is available, it is the best option of all.
- Standing on soft 18 against a 9, 10, or Ace — 18 feels safe, but against a strong dealer upcard, it is a losing hand. Hitting gives you the chance to reach 19, 20, or 21, and the downside is capped because the ace protects you from busting. Standing here costs about 0.05% of your total wagered amount over time — small per hand, enormous over thousands of hands.
- Not splitting 8s against a 10 or Ace — this is the scariest split in blackjack, because you are putting twice as much money on the table against a strong dealer. But a hard 16 against a 10 is one of the worst hands in the game, and splitting gives you two chances to build something better. The expected loss from splitting is smaller than the expected loss from playing the 16 as a single hand.
- Splitting 10s — the temptation is real: two hands starting with 10 could become two 20s. But a hard 20 wins about 85% of the time standing, and splitting turns a near-certain winner into two speculative hands. The expected value of standing on 20 is dramatically higher than the expected value of splitting.
- Not doubling 11 against a 10 — many players get nervous about putting twice as much money out against a strong dealer upcard. But an 11 against a 10 is a profitable doubling opportunity because the probability of drawing a 10-value card and making 21 is high enough that the doubled bet earns more over time than the single bet, even accounting for the hands where you do not improve.
- Hitting a hard 12 against a dealer’s 4, 5, or 6 — the fear of busting pushes some players to hit, but standing is correct because the dealer busts often enough from these upcards that your 12 wins more frequently by doing nothing. Only against a 2 or 3 does hitting become correct.
These six errors account for the majority of the difference between a player who follows basic strategy and one who plays by instinct. Eliminating them alone — even without memorizing the full chart — reduces the house edge significantly and moves you from a casual loser to a player who gives up the minimum.
Rule variations that change specific decisions
The chart presented here is calibrated for the most common 6-deck rule set, but casinos and online platforms vary their rules, and each variation shifts certain decisions. Knowing which rules change which plays allows you to adjust on the fly without needing a different chart for every game.
The most impactful rule variation is whether the dealer hits or stands on soft 17. In games where the dealer hits soft 17 (often abbreviated H17), the dealer’s average final hand is slightly higher, which affects several player decisions. Against an H17 dealer, you should double 11 against an Ace (instead of just hitting), double soft 19 (A-8) against a 6 (instead of standing), and surrender 15 and 17 against an Ace (instead of hitting or standing). The H17 rule increases the house edge by about 0.22%, which is substantial in a game where the base edge is only 0.5%.
Another significant variation is whether doubling is restricted to totals of 9, 10, and 11 only. In these games, several doubling decisions in the chart revert to hitting, which slightly increases the house edge. Similarly, if doubling after splitting is not allowed, certain split decisions change — most notably, splitting 2s, 3s, and 6s against certain dealer upcards becomes less favourable, and the hands should be played as hard totals instead.
The surrender option is worth understanding because it is not available everywhere, and when it is available, it is often underused. Late surrender allows you to forfeit your hand and recover half your bet after the dealer checks for blackjack. The chart’s surrender decisions — hard 15 against a 10, and hard 16 against a 9, 10, or Ace — are hands where the expected loss from playing exceeds half the bet, making surrender the mathematically superior option. If surrender is not available, these hands revert to hitting.
Memorization strategies that actually work
Learning 250 decisions through brute-force memorization is possible but inefficient. The chart has a structure that, once understood, reduces the memorization burden dramatically. Instead of memorizing individual cells, you memorize patterns and principles that generate the correct decision for groups of hands.
The most effective approach is to break the chart into four sections and learn them sequentially, starting with the hands you will encounter most frequently. Hard totals of 17 and above are always stand — that eliminates the entire bottom section of the chart immediately. Hard totals of 5 through 8 are always hit — that covers the top section. The middle section — hard 9 through 16 — is where the real decisions live, and these follow patterns based on the dealer’s weak/strong boundary at 7. Soft hands follow a different pattern based on the flexibility of the ace. Pairs are the most idiosyncratic and require the most individual memorization, but there are only ten possible pairs, and several have simple rules (always split aces, always split 8s, never split 10s, never split 5s, treat 5s as a hard 10).
A practical memorization sequence might look like this: learn hard totals first (they cover the majority of hands and have the clearest patterns), then soft totals (which build on the hard total knowledge), then pairs (which require the most individual attention). Spend a week on each section, testing yourself with flashcards or a practice app, and by the end of three weeks, the full chart should be internalized. The goal is not to recall the chart consciously during play — that is too slow — but to have the decisions become automatic, like a reflex, so that when you see a hard 12 against a 3, your hand moves to the hit signal without conscious thought.
Putting it into practice at the table
Memorizing the chart is the foundation, but executing it under real conditions — with the pressure of real money, the distraction of other players, and the pace of a live dealer — is where the knowledge gets tested. The transition from practice to live play is where most players falter, not because they have forgotten the chart, but because the social and emotional environment of the table pushes them toward decisions that feel right but are mathematically wrong.
The most insidious pressure comes from other players. Blackjack tables have a culture of advice-giving, and players who deviate from basic strategy are often criticised — particularly when their decisions are perceived to “affect the order of the cards.” This is a fallacy: your decisions do not affect other players’ expected value in the long run, because the cards come out in a random sequence regardless of who takes them. But the social pressure is real, and it leads many players to abandon the chart in favour of the “consensus” play. The countermeasure is simple confidence: when you know the chart is correct, you play it regardless of commentary, and over time, the results speak for themselves.
The second challenge is pace. A live dealer deals quickly, and you may have only a few seconds to make your decision. This is where the memorization pays off: the decisions need to be automatic, not deliberative. If you find yourself pausing to think, you have not internalised the chart deeply enough, and more practice is needed before returning to the table.
The final challenge is emotional discipline. Basic strategy sometimes produces losing streaks — you can make every correct decision and still lose ten hands in a row, because the house edge, even at 0.5%, means you lose over time. The temptation to abandon the strategy during a losing streak and start playing “by feel” is the most common way that players erase the advantage the chart gives them. The chart is a long-run tool: it does not guarantee winning any individual session, but over hundreds and thousands of hands, it ensures you lose the minimum possible amount — and occasionally, when the variance swings in your favour, you win.